When I bought my sit / stand desk, I decided to forgo buying a desktop and made my own. I’ve always liked woodworking and making my own meant that I can pick any color and make it whatever size/shape that I wanted.
I spent about 40 hours total and 11 days making a butcher block desk top. My dad had some spare planks of wood lying around and a bunch of tools that I could use.
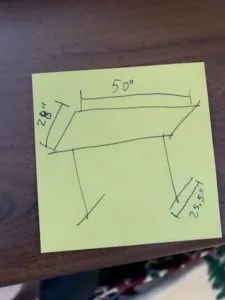
First Sketch of initial dimension
Wood
I started the project by finding the boards I wanted to use. I looked around and tried to find some that were different lengths and make sure they weren’t too warped.
I cut them all to about 52” and ran them through a planar.
I had 10 pieces and glued them into 3 different sections, after that was dry, I glued it all together into a single section.
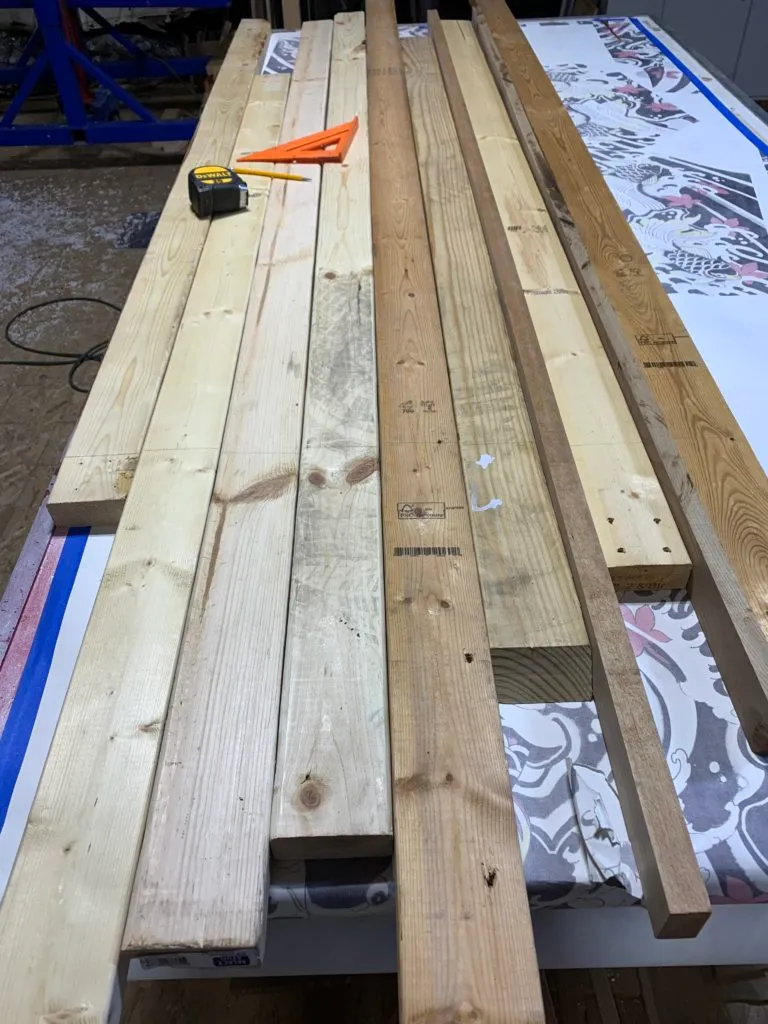
Choosing the wood
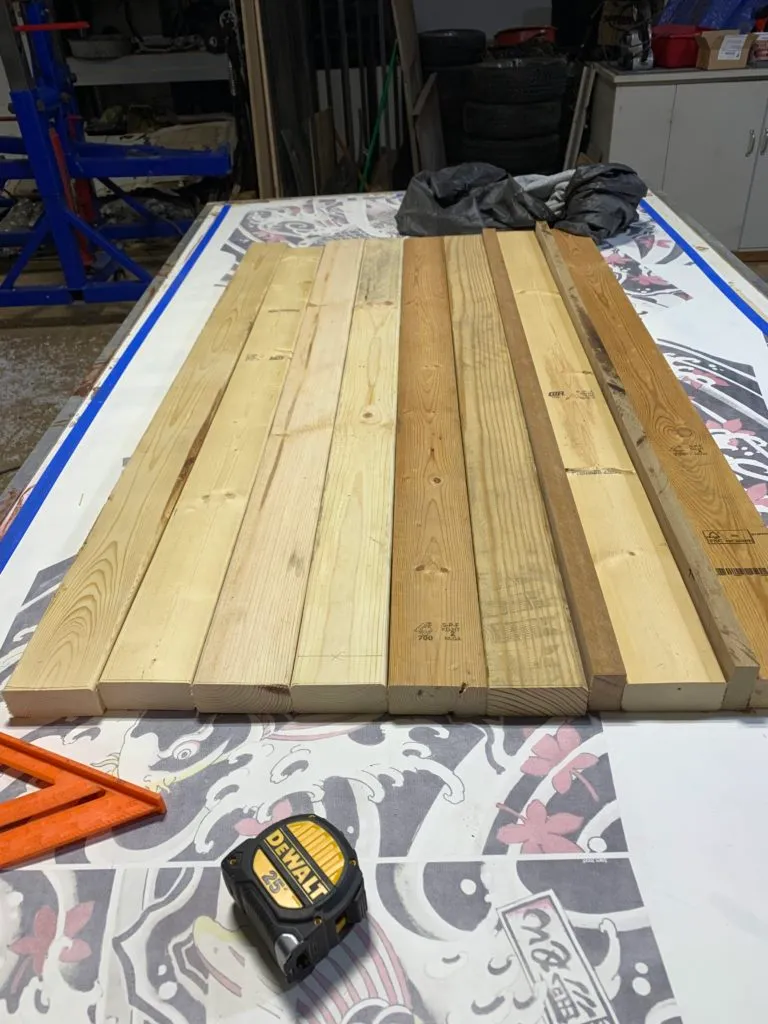
Cutting each piece to 52”
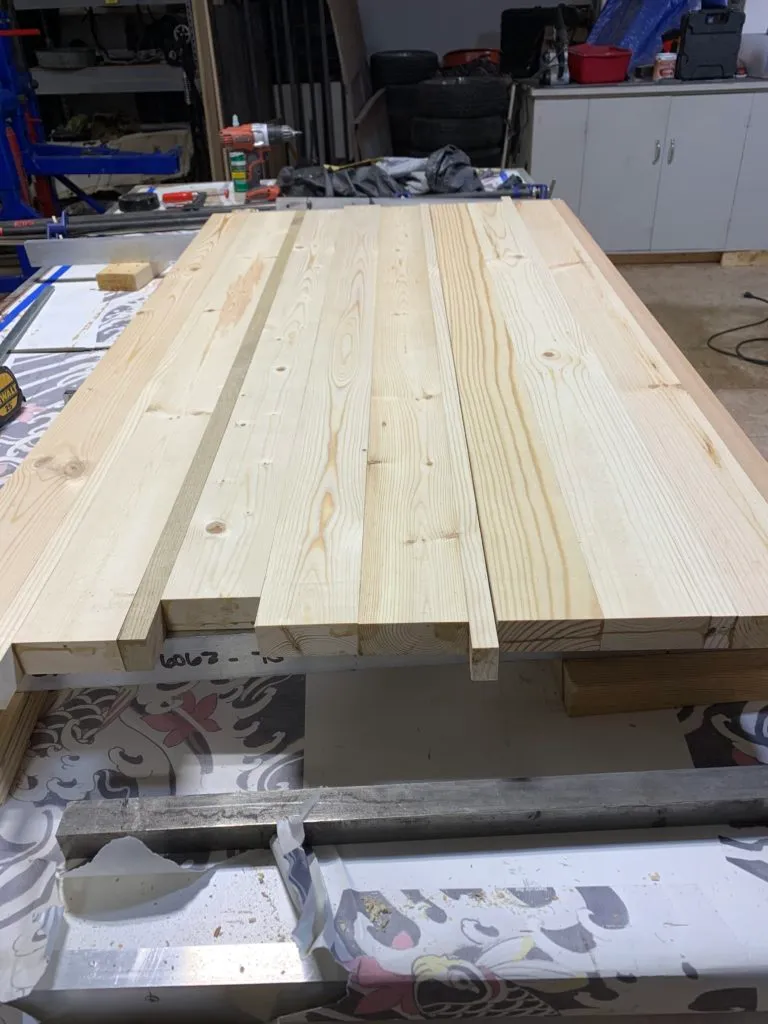
The wood after planing
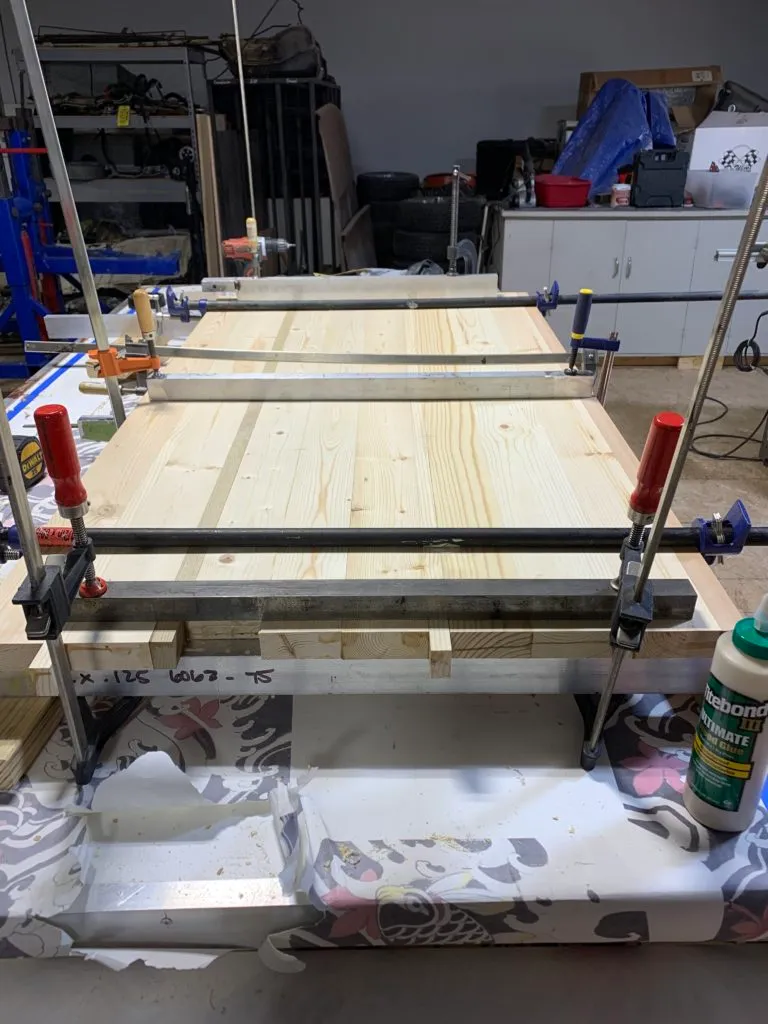
The clamps to glue the three sections into one.
Sanding
Time for everyone’s favorite part of woodworking, the sanding. The top and bottom were sanded using a belt sander with 80 and 40 grit sand paper.
I searched for some of the imperfections in the wood and filled them with wood filler. While that was drying, I used a saw to cut it to length. The dimensions are 50” x 29.5”
Lastly, I used a router on the top and bottom edges, and a final sanding on the top with 120 grit.
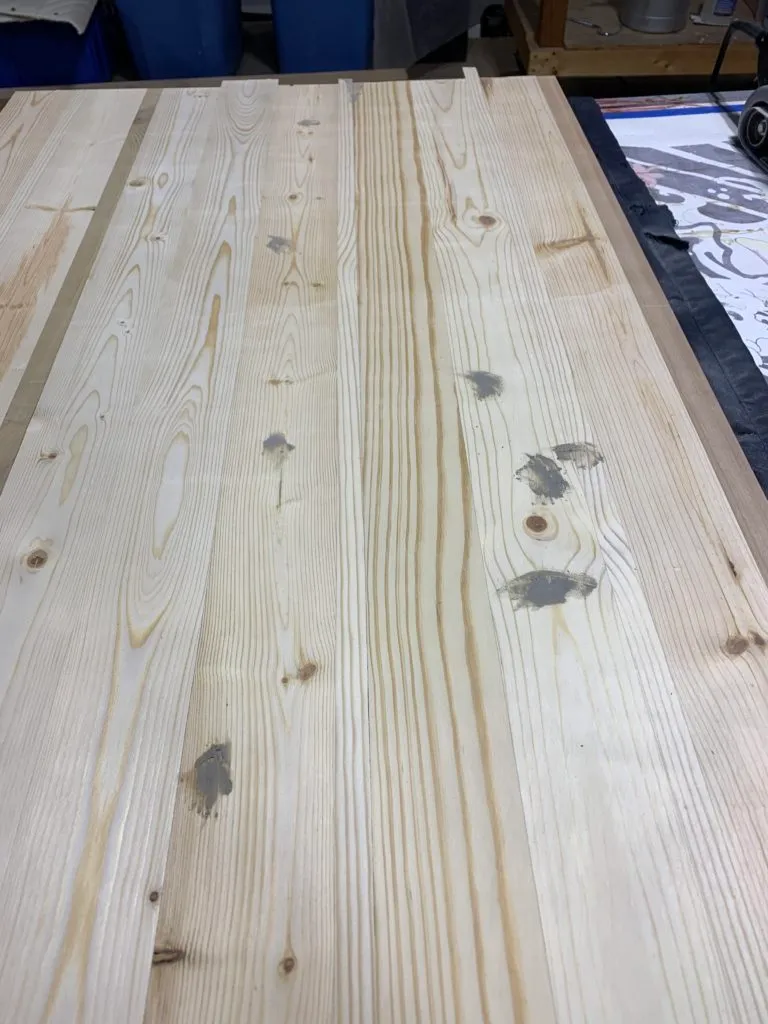
Wood filler
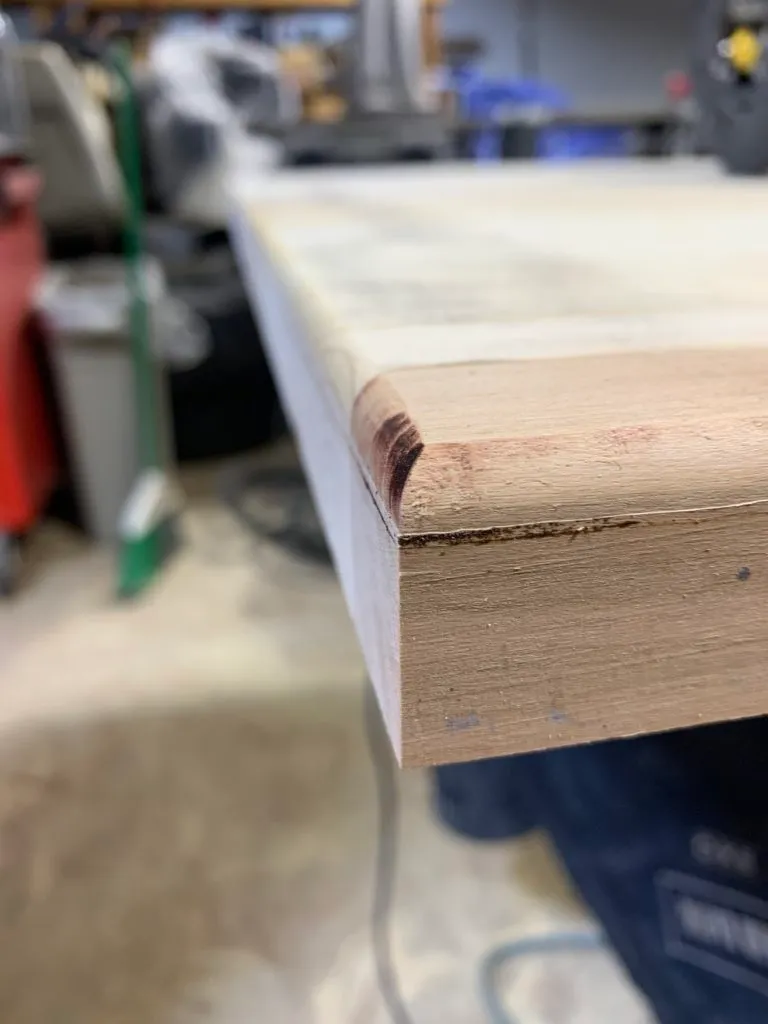
Routing the edges
Stain
I pre-stained the bottom and sides with 1 coat and then wiped off the excess with a cloth. I applied a second coat, and let it dry.
I flipped it over to the top and applied 2 coats of pre-stain and 2 coats of stain.
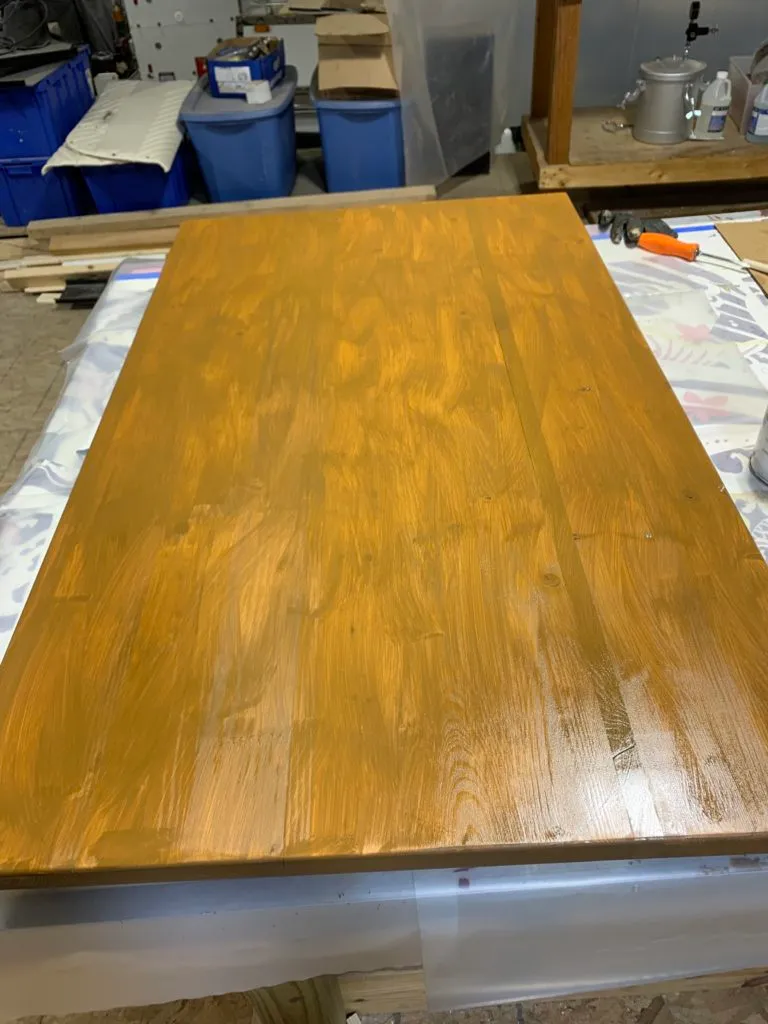
The first coat of stain
Epoxy Resin
After lunch everything was dry and ready for resin.
I wiped it down once more and made sure it was level. I mixed together some Art ‘N Glow Casting & Coating Epoxy Resin and applied it by pouring it onto the top. (Which in hindsight wasn’t the way to do this).
Once it coated the surface, I used a blow torch to remove any bubbles.
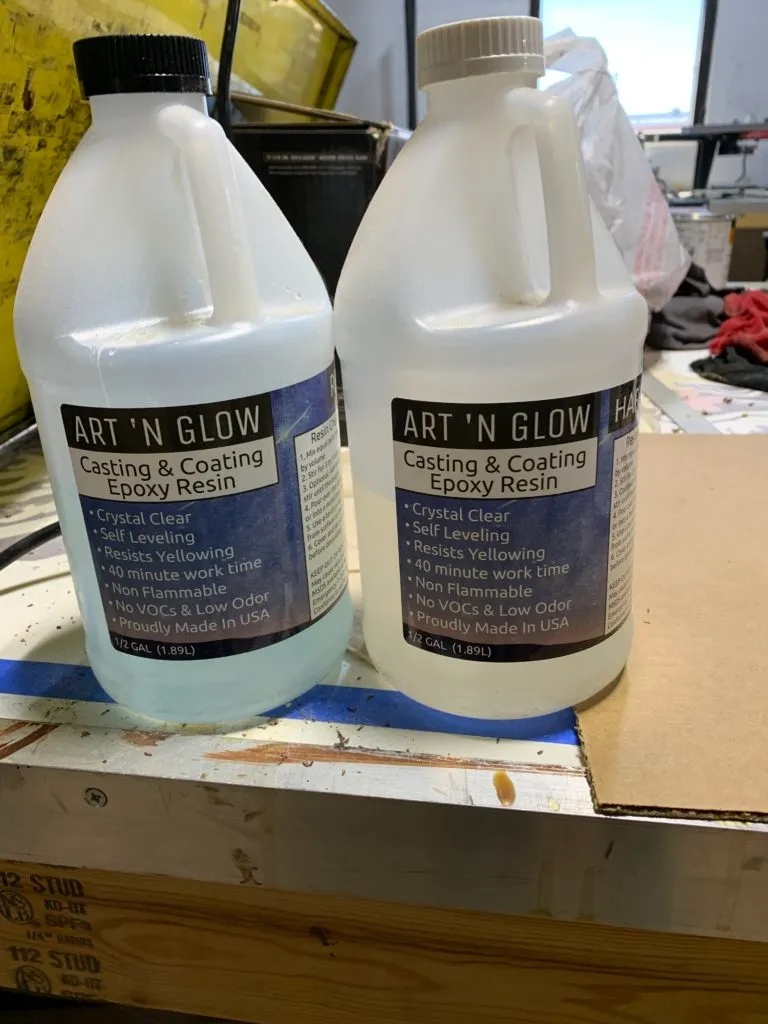
Resin I used
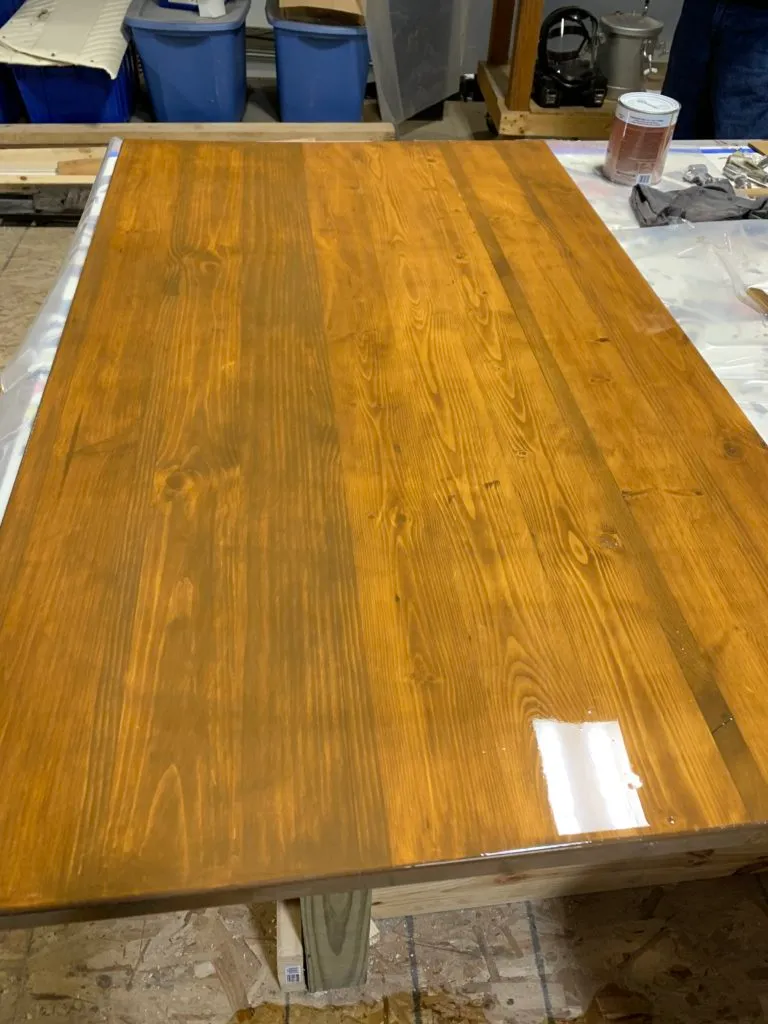
After the first resin
Resin Gone Wrong
The issue with adding the resin, was that I forgot to seal the surface before the resin was applied. The resin ended up sinking into cracks of the wood where it wasn’t glued together properly. It also poured over the edges and dried looking like it was dripping.
I applied a sealant to the spots where the epoxy was absorbed.
I tried to use a 400 grit dual-action sander to sand the sealant from the bottom edges where the resin dripped over the sides.
In the end, I ended up redoing the entire surface again with resin.
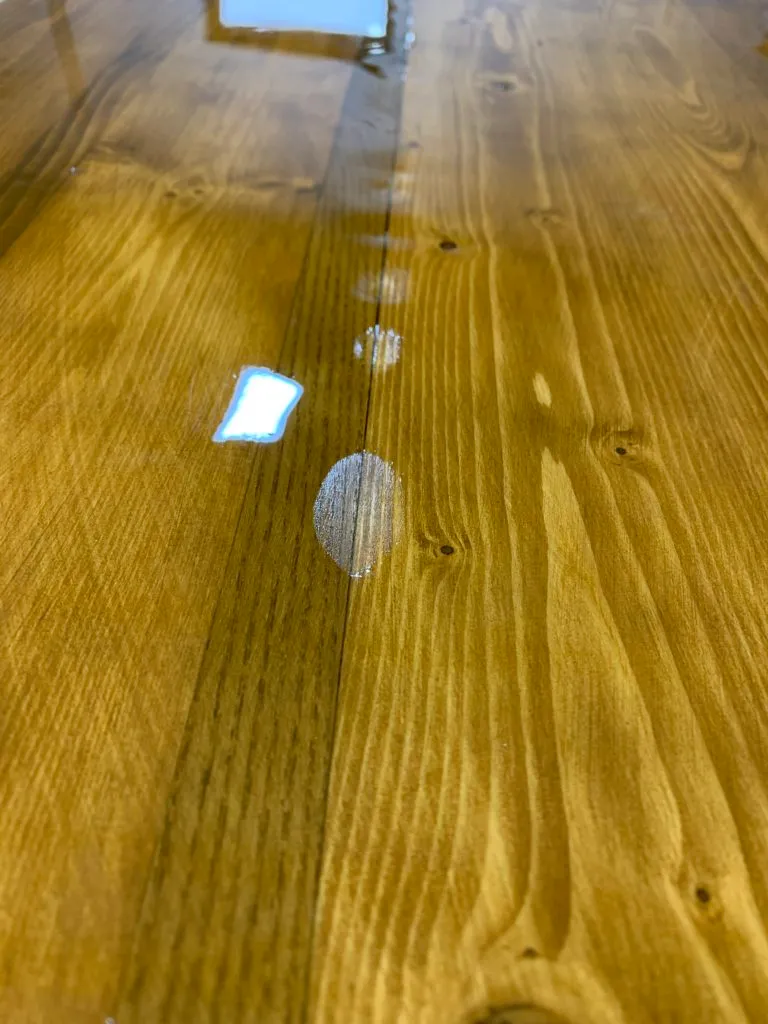
The resin sank in between planks that weren’t sealed.
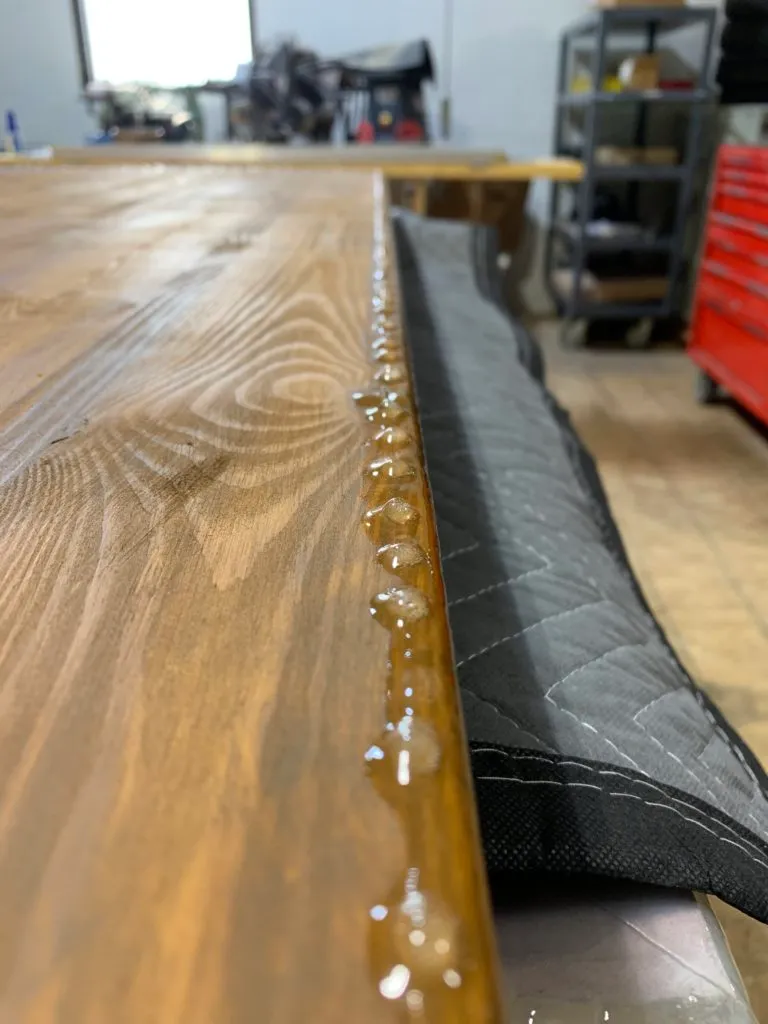
The little drips on the bottom.
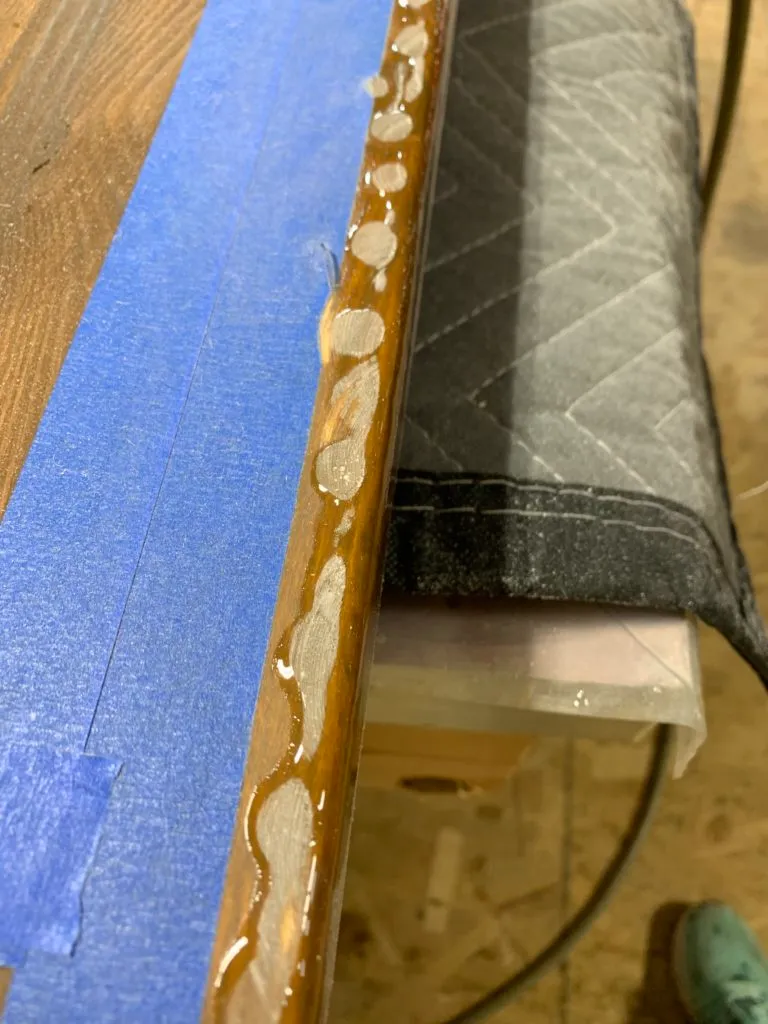
After sanding the drips.
Conclusion
After a second resin coat, I still had to sand all the bottom edges. It doesn’t look perfect, but that’s fine, it’s on the bottom.
Lesson learned, seal the stain, before applying the resin.
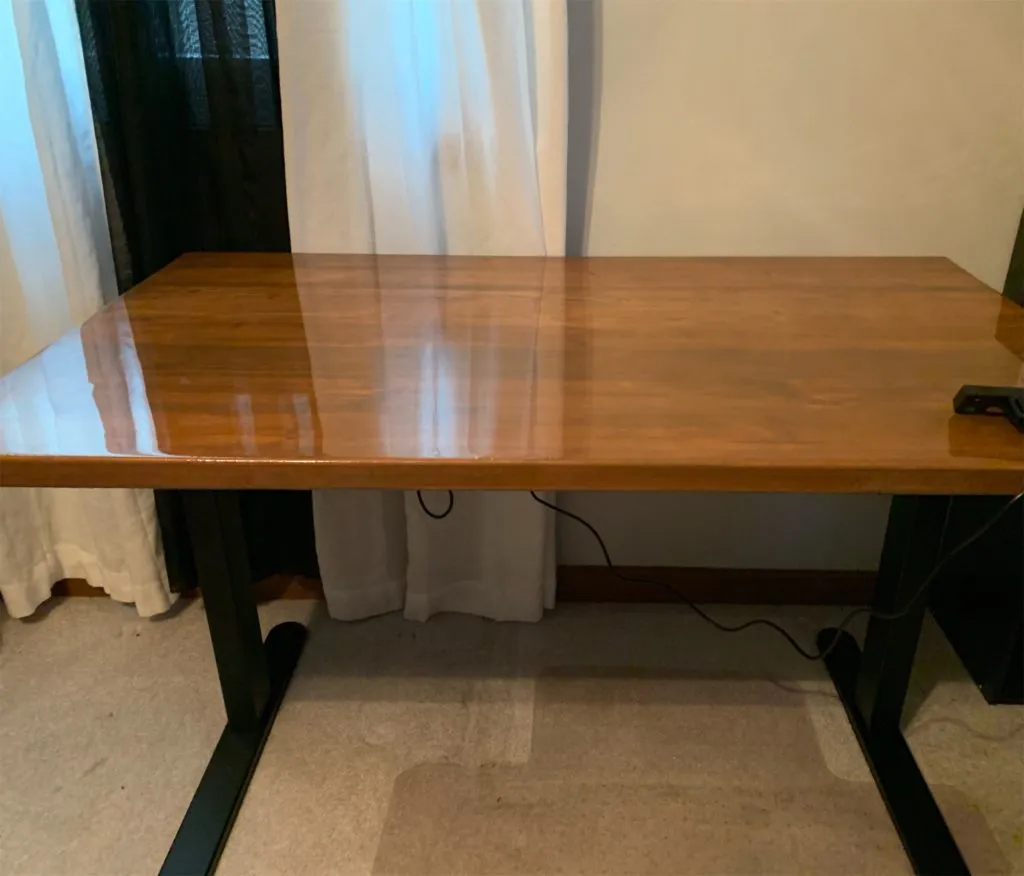
Mikaela’s finished sit stand desk

My desk in action